
A single overlooked decision during a home remodel rarely stays contained to one room or one budget line. A cracked pipe behind a newly finished wall, a mismatched permit, or a rushed contractor hire can trigger a domino effect that touches your plumbing, electrical, structural, and even insurance situation. Understanding how these chain reactions start and spread can help you catch problems early, protect your investment, and avoid turning a simple upgrade into a months-long headache.
This article walks through the most common remodel decisions that spiral out of control and what to watch for at each stage.
The Roof Decision That Starts the Chain
Many remodels begin with a roofing project, whether it is a full replacement or a partial repair tied to an addition. When homeowners choose based on price alone instead of experience, small installation errors can go unnoticed for months. Improper flashing, poor ventilation, or mismatched materials can lead to leaks that damage insulation, drywall, and even flooring below.
Vetting local roofing companies before signing a contract is one of the most important steps in preventing this chain reaction. A reputable company will inspect the decking, discuss ventilation needs, and provide a written warranty that covers both materials and labor.
- Ask for proof of licensing and insurance before work begins
- Request references from jobs completed at least a year prior
- Confirm whether the warranty covers labor, materials, or both
- Get a written timeline and payment schedule in advance
A Failing Water Heater Nobody Noticed

Remodels that involve moving walls or relocating utilities sometimes disturb aging plumbing connections without anyone realizing it. A water heater leaking slowly behind a newly enclosed wall can go undetected for weeks, quietly soaking framing and subflooring. By the time the damage is visible, it may have already spread to adjacent rooms or down into a lower level.
This is why any remodel touching plumbing lines should include a full inspection of the water heater and surrounding connections, not just the pipes directly involved in the project. Catching a slow leak early can mean the difference between a simple repair and a full teardown of new construction.
- Check the water heater’s age; most units last 8 to 12 years
- Look for rust, moisture, or discoloration around the base
- Install a leak detection sensor near the unit during remodeling
- Ask your contractor to document the condition of the unit before work starts
Choosing the Wrong Contractor for the Whole Project
One of the biggest triggers for a chain reaction is hiring the wrong team to manage a multi-phase remodel. Some home renovation companies subcontract out specialty work without proper oversight, treating each trade as a separate transaction rather than one connected project. When there’s no single point of accountability, small scheduling conflicts and communication gaps turn into expensive rework.
When the plumber does not know what the electrician is doing, or the framer does not account for HVAC routing, the mistakes compound quickly. A duct path that was never shared with the plumbing crew can force a wall to be reopened. A light fixture placed before the insulation contractor finalizes coverage can mean tearing out drywall that was just installed.
These problems tend to show up in specific ways: missed inspections because trades finished out of sequence, change orders that balloon budgets by 15-20%, or delays stretching a six-week project into three months. Ask any home renovation companies you’re vetting how they coordinate subcontractors day-to-day, not just who they hire. A written communication plan, shared project schedule, and a dedicated project manager on-site are good signs the team can actually manage complexity instead of just assembling a list of trades.
Before signing any contract, ask how the company manages subcontractors and who is responsible for catching errors before they become expensive. Find out whether the general contractor is on-site regularly or only stops by for spot checks, since a plumber, electrician, and framer working without coordination is exactly how a single bad decision snowballs into a five-figure fix.
A well-run project has a single point of accountability, even if multiple trades are involved. That usually means one project manager or lead who signs off on each phase before the next crew starts, rather than trades working in isolation and hoping everything lines up.
It’s worth asking pointed questions during the bidding process: How do you handle it when a sub finds a problem mid-job? Who pays if a mistake requires tearing out finished work? A contractor who can’t answer clearly, or who shrugs off the question, is telling you something important about how the rest of your project will go.
- Ask for a detailed project timeline showing each trade’s involvement, including start and end dates for demo, framing, plumbing, electrical, and finishing work
- Confirm who handles inspections and permit sign-offs, and get it in writing so the responsibility doesn’t fall back on you if something’s missed
- Request a single point of contact for questions during the project, ideally someone reachable by phone or text within a business day
- Verify that all subcontractors carry their own insurance, not just the general contractor, and ask for certificates naming you as an additional insured
- Check references from projects that involved multiple trades, not just single-scope jobs, to see how well the contractor actually coordinates people
- Clarify how change orders and delays get communicated, since a botched handoff between trades is often where costs and timelines quietly spiral
Windows and Doors Damaged During Structural Work
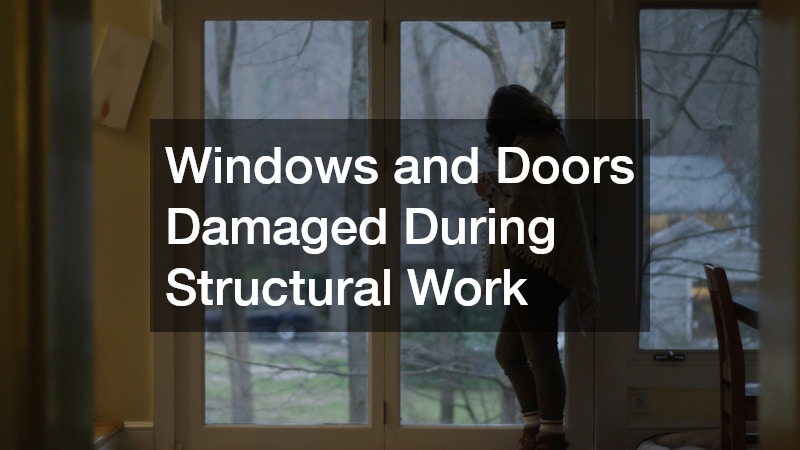
Structural changes like widening a doorway or removing a load-bearing wall often put stress on nearby windows and glass doors that were not part of the original plan. Cracks can appear in window panes due to shifting frames, and sometimes existing glass gets damaged during demolition. If this goes unnoticed, it can lead to drafts, moisture intrusion, and higher energy bills.
When this happens, glass replacement should be handled promptly and by someone familiar with the specific type of glass involved, whether it is tempered, insulated, or decorative. Waiting too long can allow moisture to seep into the surrounding frame, causing rot or mold that spreads beyond the window itself.
- Inspect all nearby glass before and after major structural work
- Ask whether the glass is tempered, laminated, or standard
- Get quotes that specify frame repair separately from glass replacement
- Confirm energy efficiency ratings if replacing older glass
Entryway Upgrades That Affect Security and Style
Homeowners often add decorative glass doors during a remodel to bring in more natural light or update curb appeal, but these installations require careful measurement and structural support. If the surrounding frame is not reinforced properly, the door can settle unevenly, leading to gaps that affect both security and insulation. This is a common oversight when the door installation is treated as a cosmetic afterthought rather than a functional upgrade.
A properly installed entry door should seal tightly, lock smoothly, and match the load-bearing requirements of the wall it sits in. Skipping a structural assessment before installation is one of the more avoidable mistakes homeowners make during a remodel.
- Measure the rough opening precisely before ordering any door
- Choose impact-rated glass if the home is in a storm-prone area
- Confirm the door’s weight is supported by adequate framing
- Ask about weatherstripping and threshold sealing during installation
Exterior Cladding Problems That Start Small
Siding is another area where a small decision can snowball. If siding contractors do not properly seal seams or install moisture barriers correctly, water can work its way behind the panels and into the wall cavity. This often goes unnoticed until interior walls show staining or a musty smell develops, at which point the damage has usually spread to insulation and framing.
Choosing the right siding material for your climate and confirming proper installation techniques upfront can prevent years of hidden damage. It is worth asking detailed questions about moisture barriers and ventilation gaps before work begins, since these details are easy to overlook but expensive to fix later.
- Ask what type of moisture barrier will be installed behind the siding
- Confirm proper overlap and sealing at seams and corners
- Choose materials rated for your specific climate and humidity levels
- Schedule a follow-up inspection six months after installation
Window Treatments That Reveal Bigger Issues

Custom blinds are often one of the last additions to a remodeled room, but measuring errors or delayed installation can expose problems that went unnoticed earlier in the project, such as uneven window frames or gaps around trim. When blinds do not fit properly, it is sometimes a sign that the window installation itself was slightly off. Catching this discrepancy early can prevent a larger cosmetic and functional issue down the road.
Ordering custom blinds after all structural and window work is fully complete and inspected reduces the risk of costly remeasuring or ill-fitting products. It also gives homeowners a final opportunity to catch alignment issues before they become permanent.
- Wait until walls and trim are finished before final measurements
- Choose cordless or motorized options for a cleaner finish
- Confirm lead times, since custom orders can take several weeks
- Inspect window frames for square and level before ordering
Structural Metalwork That Gets Overlooked
Iron railings on staircases, balconies, or exterior steps are frequently installed near the end of a remodel, but they depend heavily on decisions made much earlier, such as stair tread depth and structural anchoring points. If the original framing was altered without updating the railing plan, installers may be forced to make compromises that affect both safety and code compliance. This is a common example of how an early framing decision quietly limits later options.
Coordinating railing design with your contractor before framing is finalized helps avoid last-minute adjustments that can weaken the installation or clash with the home’s overall style. Iron is durable and long-lasting, but only when it is anchored into solid, appropriately spaced structural points.
- Confirm railing height meets local building codes before installation
- Discuss anchoring methods for concrete, wood, or masonry surfaces
- Choose a finish that resists rust if the railing is exposed outdoors
- Review the design early, before framing decisions are finalized
Smart Lighting Systems That Outgrow the Wiring Plan
Modern remodels often include upgraded lighting designed to highlight architectural features, but these systems depend on wiring and circuit planning done early in the project. When architectural lighting control systems are added as an afterthought, homeowners sometimes discover that the existing electrical panel cannot support the added load or that switches were placed in inconvenient locations. Retrofitting these systems after drywall is installed is far more disruptive and costly than planning for them upfront.
Discussing your lighting goals with an electrician before walls are closed up allows for proper wiring placement and panel capacity planning. This is especially important in remodels that include dimmable, zoned, or app-controlled lighting throughout multiple rooms.
- Map out lighting zones before electrical rough-in begins
- Confirm your panel has enough capacity for added circuits
- Choose compatible switches and dimmers for smart systems
- Test the system before final walls and trim are completed
When Damage Has Already Spread Through the Home
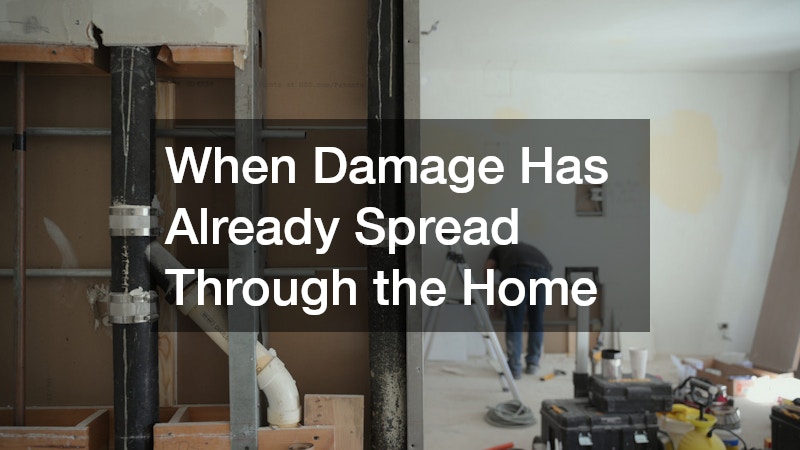
Sometimes a chain reaction is caught too late, and water, mold, or structural damage has already spread beyond the original problem area. In these cases, calling a damage restoration company quickly can limit how far the issue travels and help document losses for insurance purposes. Waiting even a few extra days can allow moisture damage to reach framing, subflooring, or electrical systems that were previously unaffected.
A qualified restoration team will assess the full scope of damage, not just the visible symptoms, and coordinate with contractors to ensure repairs address the root cause. This step is often the turning point between a manageable setback and a remodel that requires starting over in multiple rooms.
- Document all damage with photos before cleanup begins
- Ask for a written scope of work and timeline for restoration
- Confirm whether the company works directly with your insurance provider
- Address the original cause of damage before repairs are finalized
Conclusion
A remodel rarely fails because of one catastrophic mistake; it usually fails because a small oversight was allowed to grow unchecked. By understanding how decisions about roofing, plumbing, glass, siding, railings, and lighting connect to one another, homeowners can ask better questions and catch problems while they are still manageable. Take time to vet every contractor, inspect work at each phase, and address small issues immediately rather than hoping they resolve themselves. Doing so will protect both your budget and your home’s long-term integrity.
